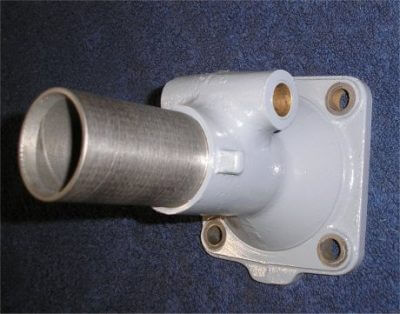
Rebuilding a Step-Up Transmission
Looking For Something?
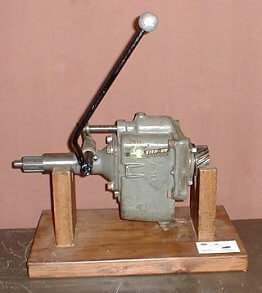
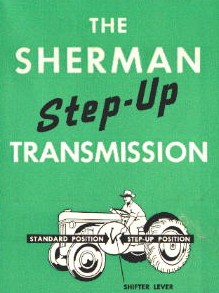
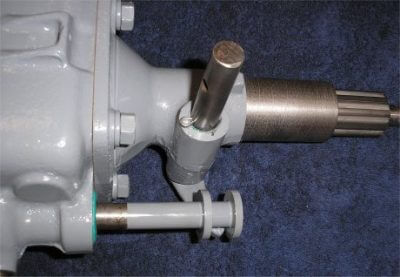
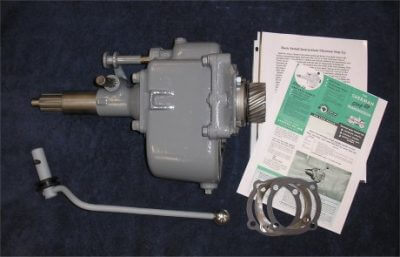
The Sherman Step-Up Transmission
Due to their usefulness by adding several more gear selections, the popularity and demand for Sherman transmissions remain high among Ford “N” tractor owners. This high demand has brought lots of Shermans out of the woodwork from salvage yards and individuals parting out tractors to sell the high demand parts. Unfortunately, this has been a mixed blessing as many of these transmissions have been sitting and rusting for long periods of time or they are badly worn. The Shermans were very well made and extremely durable, but they wear out just like the rest of the tractor. They’re 50-60 years old and it would be unreasonable to expect them to be in perfect condition without being rebuilt. It’s entirely possible to get a good used Sherman from a salvage yard or from eBay, but it’s also possible you’ll get a junker and lots of people have done just that. Statements from sellers like “I checked and all the gears look good” or “I drove the tractor and it shifted fine” are not nearly enough to assure you’re getting a good one. We’ve heard from dozens of people who have installed a used Sherman and then ask us what could be wrong with their bargain transmission when it pops out of gear, whines, growls, or doesn’t shift properly. That’s one of the reasons for the creation of this webpage, to help Sherman owners evaluate and repair their transmissions. Splitting the tractor to install a Sherman is too much work to have to do it all over again when the Sherman isn’t right.
— Variations —
There are a few variations on the gray Sherman Step-Up transmission but the internals are all basically the same. The early models were made for the 9N tractors and have a countershaft pin that protrudes from the front. This will interfere with the brake cross shaft if trying to install it on an 8N. The next generation had the countershaft pin protruding from the rear and these can be installed in all 9N-2N-8N-NAA tractors. There were a few (very few) early model step-up transmissions made with a straight cut spur gear on the output shaft to fit the early 9N tractors. These are so rare (basically non-existent) they can’t be considered a viable option for the eary models. Early 9N owners need to simply change the 9N7113 gear in their tractor transmission to the updated 2N7113 gear with the helical cut teeth to use any current Sherman transmission in their tractor. Later in the Step-Up production the new red painted Step-Down transmission was introduced. The Step-Down was the same basic transmission as the Step-Up but with a smaller input shaft gear, larger step-down gear, and a different countershaft cluster gear. Rebuild procedures are the same for both the Step-Up and the Step-Down. About that same time, a cable controlled shifter option was available. The Step-Up and the Step-Down were both available with lever or cable type shifters. The introduction of the Sherman combination transmission made the Step-Down pretty much obsolete and it was dropped from production. They’re fairly rare today.

The Sherman Step-Down transmission
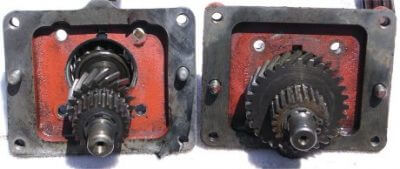
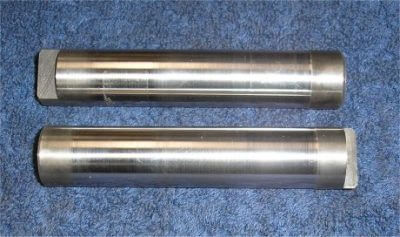
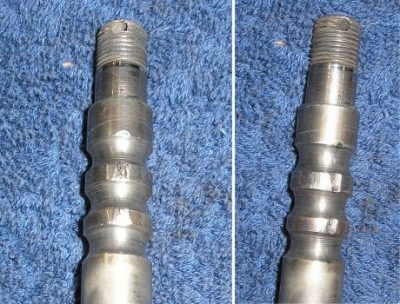
Rear output shaft with step-up gear (left) and step-down gear (right).
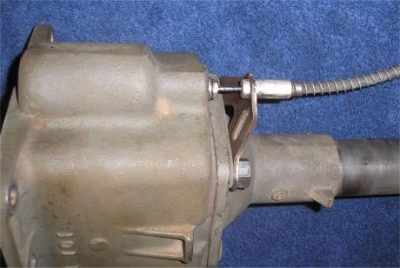
The cable shift version. Notice the lack of a ball/spring detent for the shifter rail and the smooth cast nose piece without the pivot for the lever shift.

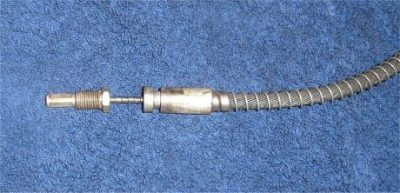
The original shift cable. New ones are currently not available.
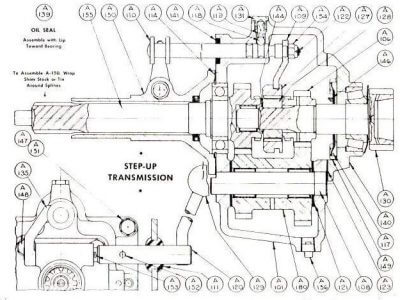
Assembly and parts drawing for the Step-Up transmission.
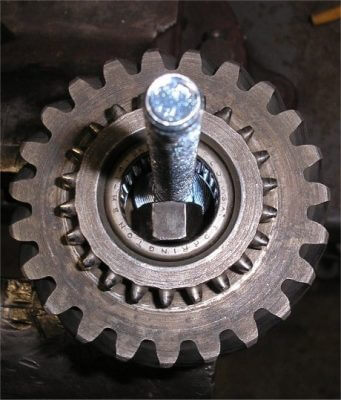
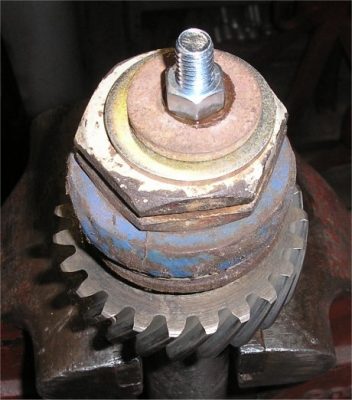
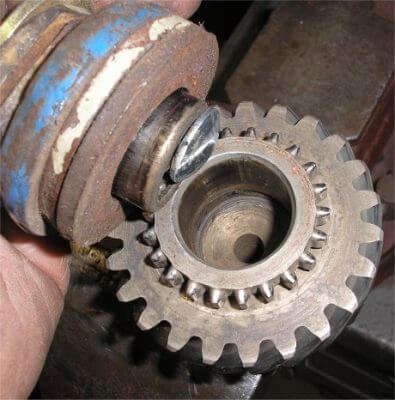
The Sherman being rebuilt in the following photos is the most common, a 2nd generation lever shift Step-Up model. Disassembly is straightforward and requires no special tools or knowledge. Once everything is disassembled and cleaned, lay it all out and start inspecting each piece. When all parts are determined to be good, have been repaired, or replaced, assembly can begin.
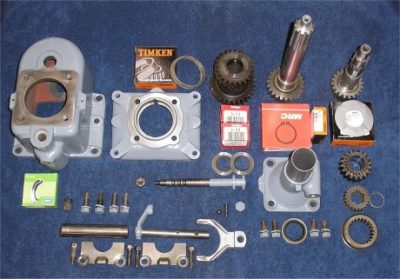
The Step-Up after disassembly and cleaning.
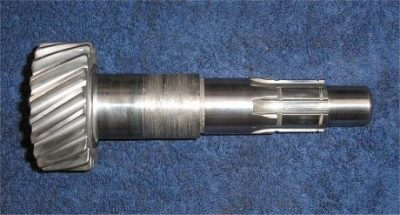
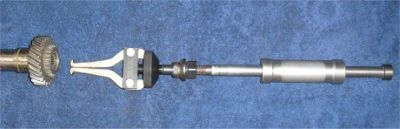
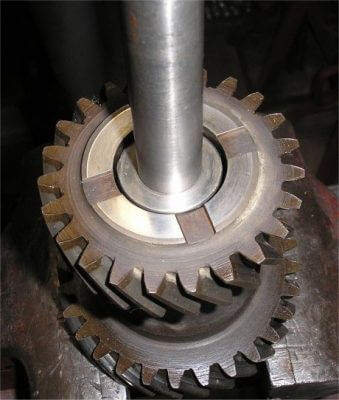
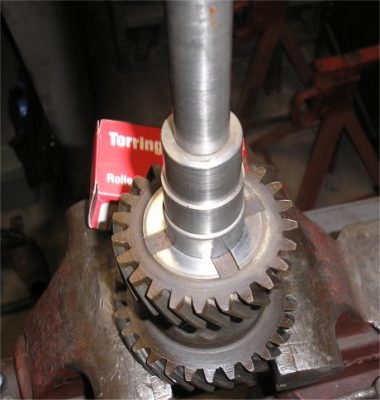
We’ll start with the rear output shaft as more problems occur here than anywhere else. Make sure all the gear teeth are good, and check the step-up gear diameter and the front needle bearing surface closely. There should be no pitting or wear.
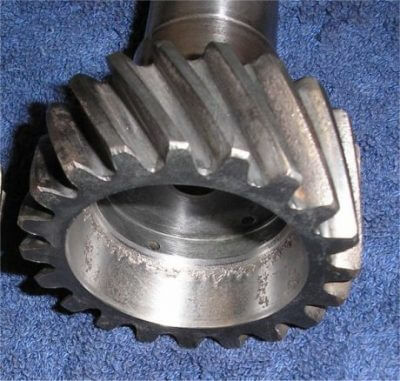
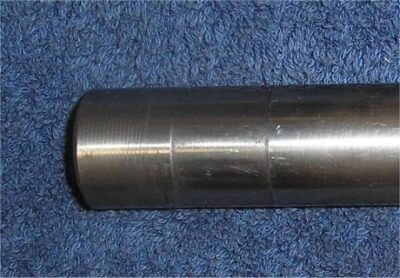
The tapered bearing race in the back end of the output shaft gear is very important. Pitting or wear here as shown in this photo is common and makes the shaft junk. You can’t use one with pitting like this. It would growl and rumble and quickly destroy the bearing on the front of the tractor transmission mainshaft. It’s interesting to note that sellers of used Shermans on eBay rarely will show a close-up photo of this area. Maybe they really don’t know how important it is. Or maybe, they don’t want you to see it.
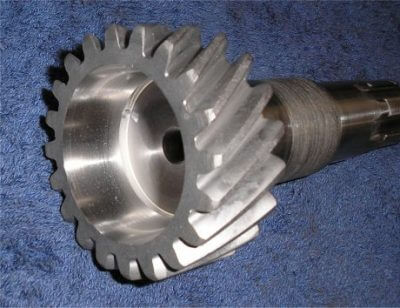
This is good one. Not perfect, but very good. Yours should look like this.
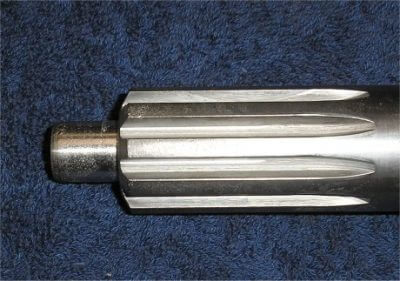
Check the clutch disk splines on the front of the input shaft and the pilot bearing end diameter for wear. Wear on the clutch disk splines means the shaft needs replaced. Many of the front bearing diameters get worn when the flywheel mounted pilot bearing goes bad. Wear in that area can be repaired by welding up the pilot end and turning it back to size, or by turning it down and installing a correctly sized bushing over it.
Check the input shaft seal diameter in front of the bearing area for wear and polish it smooth if necessary. Make sure all the drive gear teeth are good and the dentals on the rear are not chipped, badly worn, or broken.
Unless the rollers all look perfect and you know it’s not very old, the caged needle bearing in the rear of the input shaft should always be replaced.
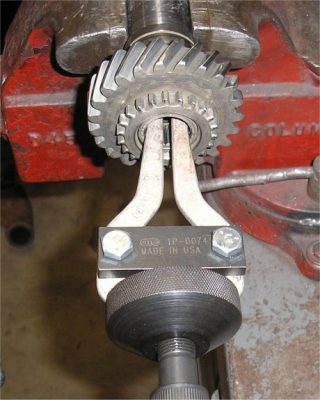
There are many methods for removing the pressed in bearing from the blind hole. Expandable bushing pullers work well and internal jaw pullers with a slide hammer like this one work pretty well.
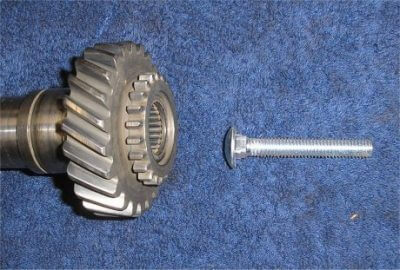
Many people do not have the specialty tools available, so here’s a simple shade tree method anyone can use to remove the bearing. Get a standard 3/8″ carriage bolt about 3″ long.
Drop the head of the carriage bolt into the bearing and shift it to one side so the head is under the bearing lip. Then drop a nut or other piece of metal along side of the bolt to keep it in position and prevent it from slipping out.
Find some spacer material that has a center hole just larger than the outside of the bearing and stack it on top. A short length of pipe works well. Here we’ve used an old 8N axle nut and washers. You could make something fancy, but anything that’s handy will work. Add a smaller washer or two on top for the 3/8″ nut.
As you tighten the nut, the bearing will pull right out.
Always use a suitable driver to prevent damage when you install the new needle roller bearing.
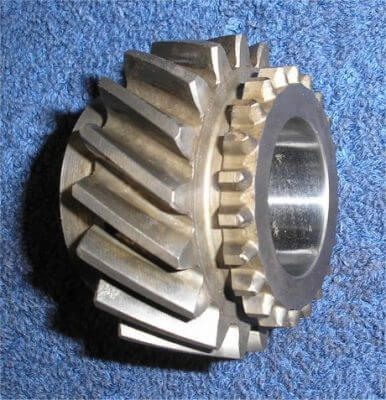
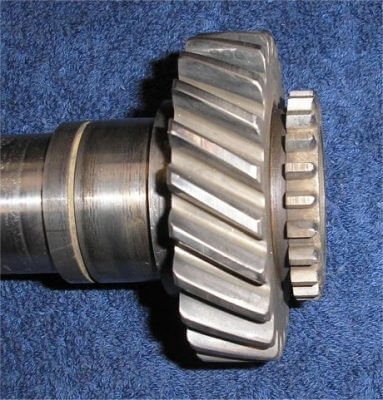
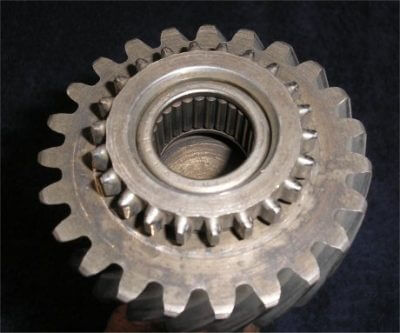
Check the step-up gear for worn or damaged teeth, dentals, and for wear in the center bore. The gear should spin freely on the output shaft and not wobble.
The sliding shift collar center hub should be a snug fit to the output shaft and not have any play in the internal splines.
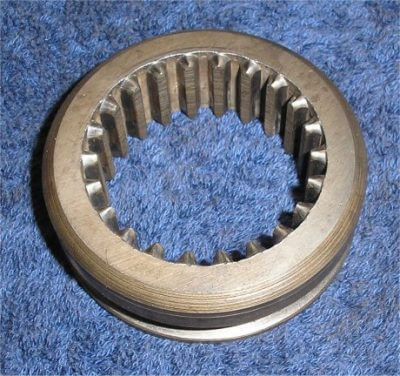
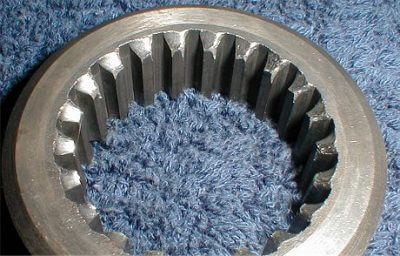
The sliding collar should be checked closely for wear on the internal teeth. This is the front (long) side of the collar that engages the dentals on the input shaft for the direct drive ratio. This one looks very good.
These teeth are worn on the ends from shifting on the fly. Not good.
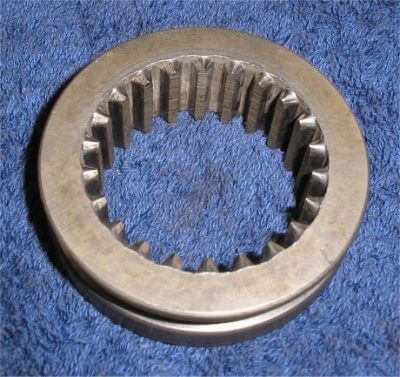
Also check the rear (short) side of the sliding collar. This end engages the dentals on the step-up gear for the overdrive ratio.
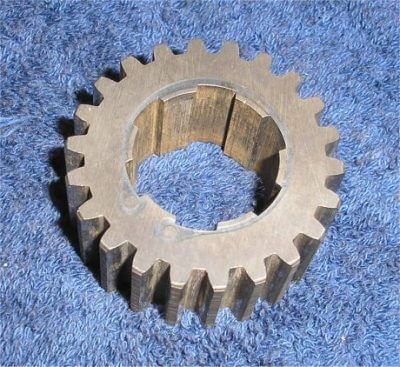
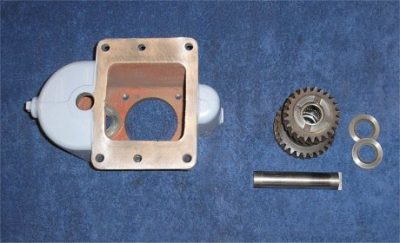
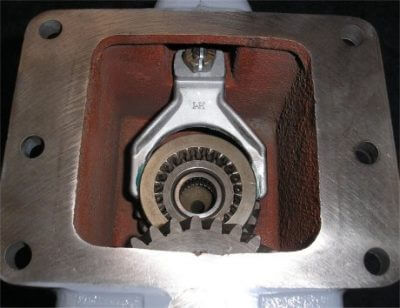
Inspect the lower cluster gear for any damage to the teeth and replace both needle bearings inside. The bearing bore is straight all the way through, so after noting the original position of the bearings, you can use a suitable driver to push both bearings out one end.
Use the driver to install the new bearings, one from each end, and position them like the old ones.
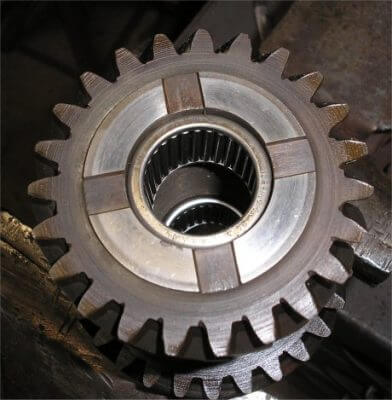
The new bearings installed.
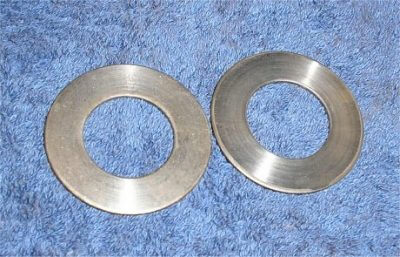
Check the lower cluster gear thrust washers for wear. Some step-ups use brass thrust washers and some use hard steel washers. The purpose of these washers is mainly to protect the soft cast iron case from wear from the hardened cluster gear. End play here should not be excessive but the amount is not overly critical.
The two styles of countershaft pins used in the step-up transmissions. The top one is from the early 9N step-up with the stepped end protruding from the front. The lower one is from the 8N version and has the stepped end protruding toward the back (larger diameter). All that is required to make the early stepup transmission compatible with the later tractors is to replace this pin with the later style.
Inspect the pin for wear or pitting in the bearing areas. This pin is badly worn and needs replaced. A pin with any pitting or galling should also be replaced.
Three styles of top shifter rails used in the step-up transmissions. The one on the left was the latest, the one on the right was the earliest. The earliest design used a narrower mounting for the shifter fork and must be used with the correct fork to match it. The two on the left are interchangeable. The shifter rail for the cable shift transmission is similar but is without the two end rings for the lever shift arm.
Minor wear on the shaft from the detent ball is common. Excessive wear such as this is not good and the shaft should be replaced.
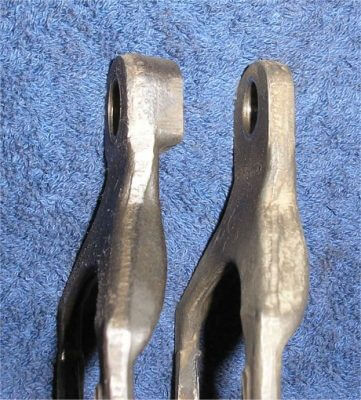
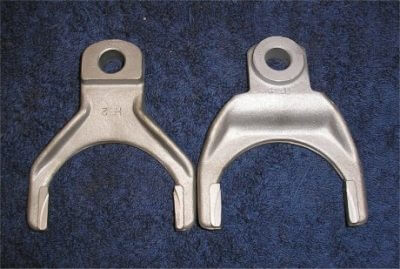
The most common shifter fork (left) and the early (narrow mount) shifter fork (right). You must use the correct fork for the shift rail you’re using.
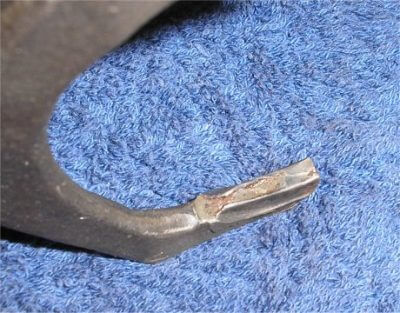
Inspect the shifter fork ends for wear. This one is badly worn and should be repaired or replaced.
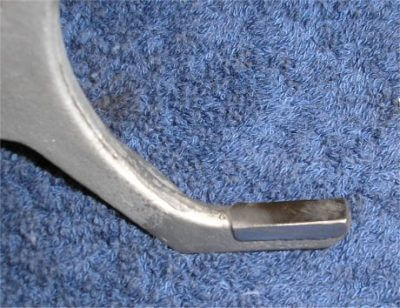
A good shifter fork with almost no wear.
The shifter fork on the left is the most common style. The fork on the right is normally found only in cable shift transmissions, but they are interchangeable and either style can be used.
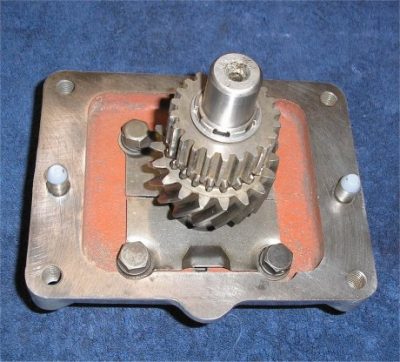
Once the case has been cleaned and inspected, assembly of the cluster gear and shaft can begin.
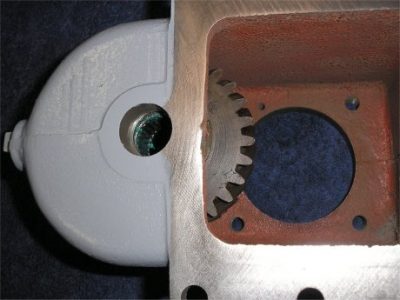
Put the cluster gear and 2 thrust washers into the case, large gear to the rear.
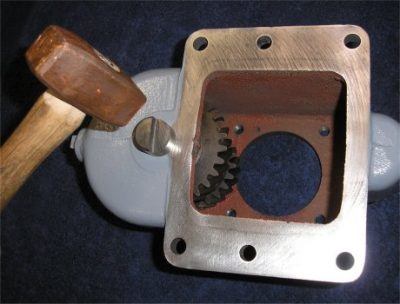
Use some assembly lube and install the countershaft pin using a soft hammer
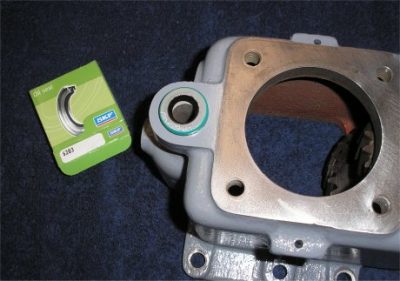
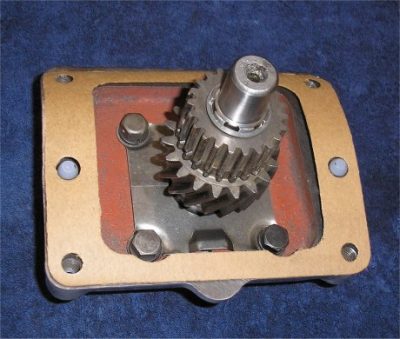
Turn the case over and install a new seal for the shifter rail.
Oil the shifter rail and it’s bore and insert it into the case.
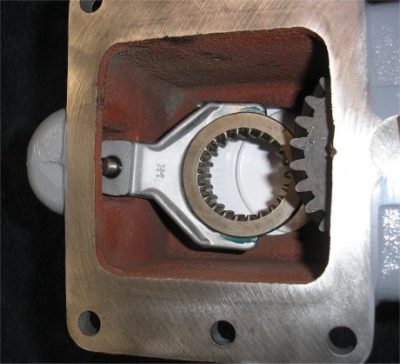
Install the shifter fork onto the rail, angled toward the front. The sliding collar can be tricky to get in place later, so you might want to place it in the fork now. Long end of the collar to the front. Install the castle nut onto the fork and rail but do not tighten it more than finger tight. The fork has to be able to swing side to side freely without turning the shifter rail shaft. Put a cotter pin through the nut to secure it.
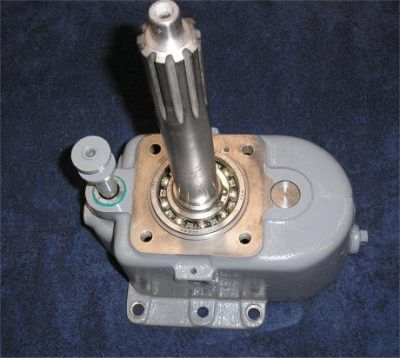
Install the front input shaft. The outer snap ring on the bearing should fit down flat against the case.
Inspect the nosecone for any damage or wear. The brass bushings for the shifter cross shaft can be replaced if they are worn.
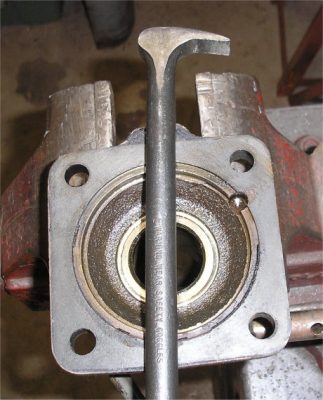
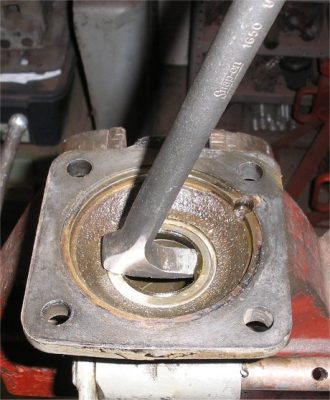
Remove the old input shaft seal. A prybar like this one makes removing the old seal simple and easy.
Press the sharp end of the hook into the soft area on the seal.
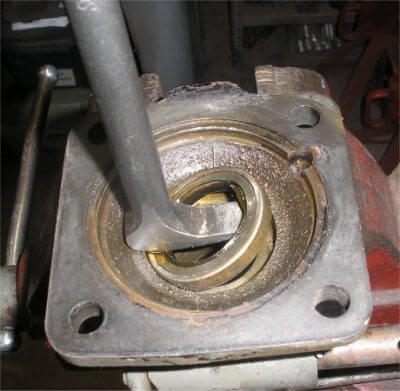
Pull back on the bar to pop the seal out.
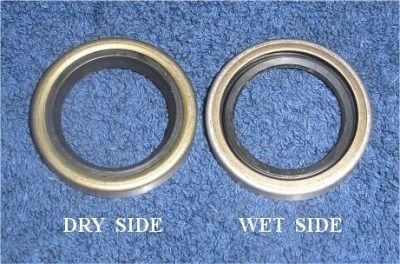
The proper orientation to install the new neoprene lip seal. The open lip always faces the oil you’re trying to keep in.

Install the new seal with a suitable driver.
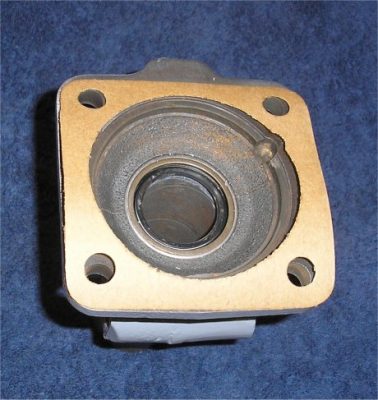
Make a new gasket for the nosecone and install it onto the housing.

Drop in a new detent ball and insert the spring and cap. Make sure you have the correct length spring. A little too short and it won’t hold the rail in place. A little too long and it won’t shift at all.
Pop the shift rail forward to engage the collar onto the input shaft dentals. This will keep the collar securely in place until the rear output shaft parts are installed.
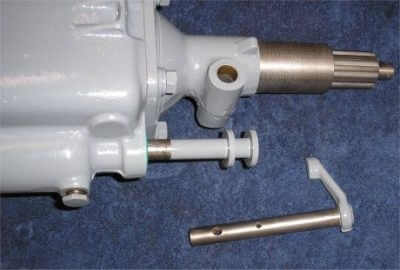
Lube the shifter cross shaft and slide it in place.
Install the correct size cotter pin to keep it all together.
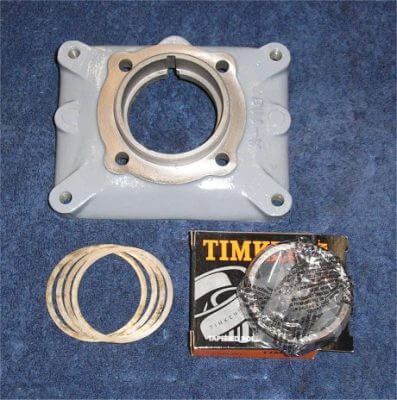
Install the new bearing cup into the rear mounting plate using all the original shims behind it. Leaving these out or not installing enough of them can mean you won’t be able to get the proper bearing load when installing the Step-Up into the tractor.
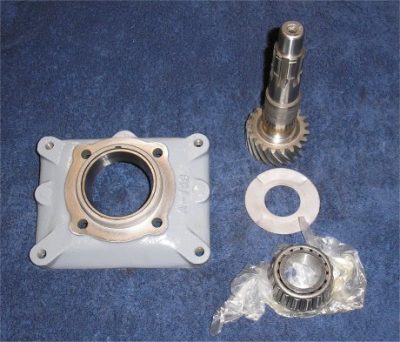
Next, assemble the oil slinger and new bearing onto the output shaft.
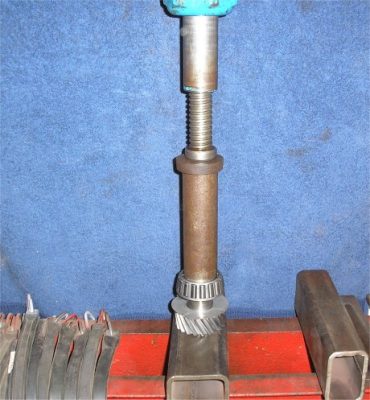
You can heat the bearing to expand it, or use a press to push it into place.
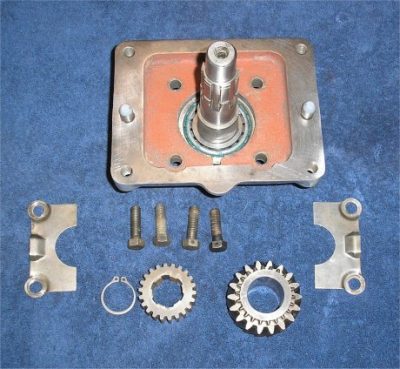
Insert the output shaft into the rear plate and assemble the rest of the parts.
The step-up gear, hub, snap ring and oil baffle plates are installed.
Make a new gasket and the mounting plate is ready to bolt on to the case.
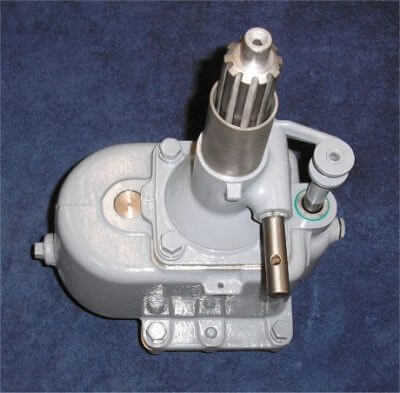
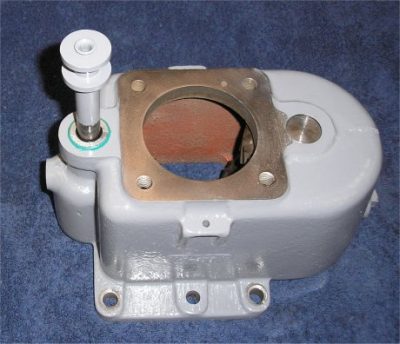
Stand the finished Step-Up on end and rotate the case around as you shift it between ranges to make sure everything is working ok.
All finished and ready to go to work.
Bearings used in the Sherman Step-Up transmission –
- Input shaft ball bearing – MRC 208MG
- Mainshaft needle bearing – Torr BH 1412X
- Output shaft cup – Timken 25820
- Output shaft cone – Timken 25877
- Countershaft bearings – Torr BH1616X
- Top shifter shaft seal C/R 6203
- Front seal 8N7052A
- Internal parts such as gears and shafts are no longer available new and must be located used.
Copyright 2009 John Smith & www.oldfordtractors.com
Thanks to John Smith of Old Ford Tractor for allowing us to use this information.